
DIY Tiled Punch Needle Design

Every now and then, I get a little itch for trying something new that I’ve seen many people make online. This has happened over and over again with printmaking, to naturally dying fabric (or eggs for Easter), to big wood working projects. There’s just a joy from teaching yourself something new from scratch, and it’s that joy that keeps my love for DIY-ing alive. So when I stumbled upon the art of punch needling, I very quickly saved the photo, and began doing some digging to this new obsession.
If you’ve never heard of punch needling, like myself, it’s almost like coloring but with yarn, which happens to be one of my favorite mediums to use. It’s actually very simple to do, and only requires a couple items to get started. I mean, I’ve literally never done this before and I ended up very quickly punch-needling to my hearts content.
How it works has to do with the tension of the monks cloth (the material you use to punch needle), and how it grips the yard as it’s punched through the fabric. Thus, making a series of small loops. It has a resemblance to embroidery but it goes much faster, and can be easier to correct if you mess up. The down fall to punch needling is that it can be very delicate as the yarn isn’t actually tied to the monks cloth, so it can be unraveled seamlessly if done on accident. And if you want to be really smart, like me, you’ll choose a humungous design to kick off your punch needling career that will take weeks on end to finish. But hey, don’t most yarn/fiber projects take a while to complete anyways? The answer is always, yes.
Here’s What You Need:
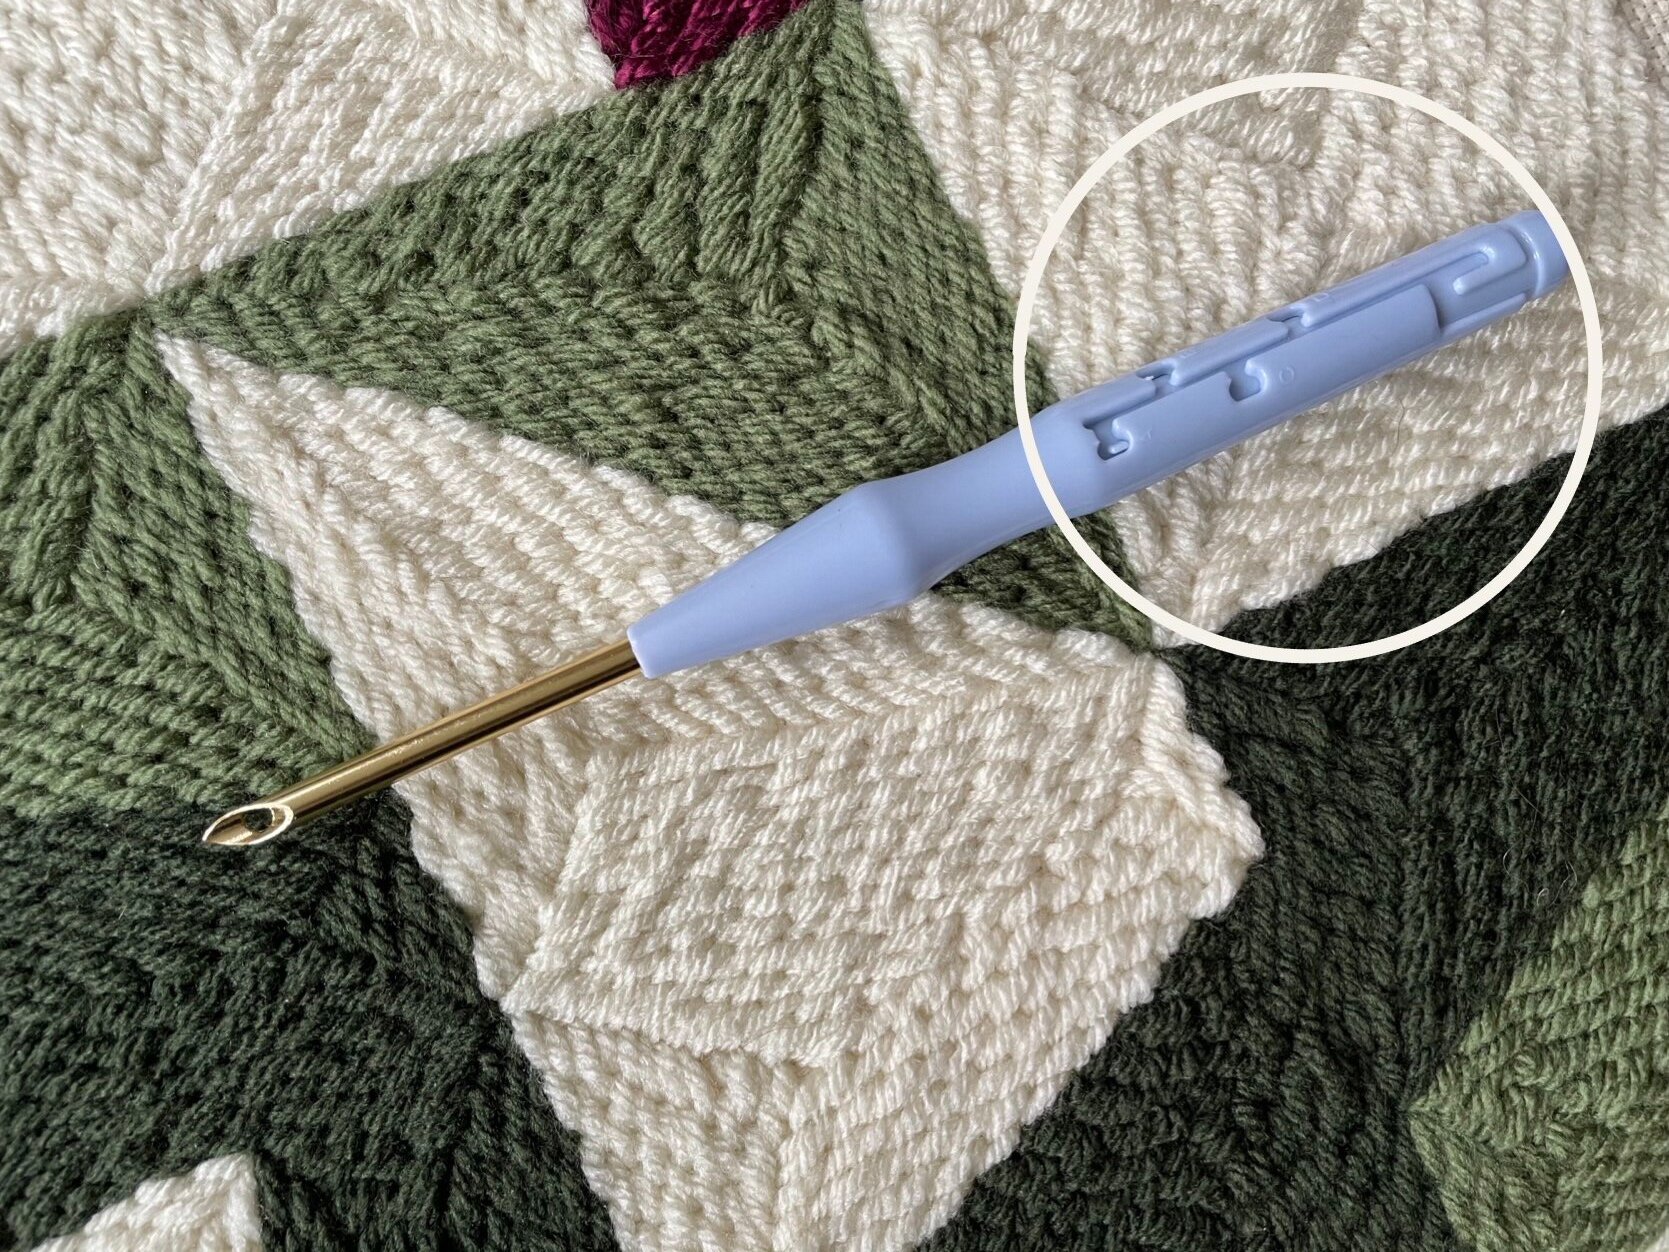
Punch Needle—This is the set I got off Amazon that comes with an Oxford and an adjustable one plus a couple other things to help thread the Punch Needle
Stretcher Bars, embroidery hoop, or wooden frame
Staples and Staple Gun
Different colors of yarn
Scissors
Pencil
Here’s What You Do:
Start by threading the punch needle
Take your wire threader that came with the punch needle set, and insert it straight up through the inside of the needle so the loop of the wire is showing out the end of the handle.
Insert the end of your yarn through the wire.
Pull the wire all the way through and out so the yard is now dandling loose on the metal end of the punch needle.
Take your wire again and insert it from the outside, inward, and through the hole on the metal part of the punch needle.
Take the end of yarn and insert it through the wire loop again.
Pull the wire all the way through, and out again.
Give yourself a couple inches of slack on your punch needle
Stretch your monks cloth
Via Stretcher Bars/Wooden Frame
Assemble your stretcher bars or wood frame. You may need to staple these together to keep them from falling apart.
Lay your monks cloth down on a hard surface, and set your frame on top of it with the back of the stretcher bars/frame facing up.
Add a few staples in the middle of one side. Then, pull on the opposite side and add the same amount of staples.
Repeat this again with the other two sides.
Add a couple more staples on both sides of the initial staples, all while gently pulling the monks cloth taught.
You’ll repeat these steps as you work from the inside, out towards the corners of the frame.
Once the monks cloth is pulled taught in all directions, and there are just the corners remaining, fold the corners over into a triangle, and staple the excess on the back of the frame.
Via Embroidery Hoop
Unscrew the two hoops from one another
Lay your monks cloth down on a hard surface, and set the inside hoop on top of it.
Flip over, attach the outside hoop, and tighten the two hoops together
Gently pull on the ends of the fabric, around the whole loop to make the face of the fabric nice and taught
Draw your design on your monks cloth. Here is the design I made, if you’re wanting to use the exact same one as me

The tiles on above the design are shown individually so you can see how they can be rotated to create a unique pattern. Or you can follow the design pattern for the piece I made.
To begin, here a couple basics tips:

Have the open hole of your punch needle face the direction you are punching

Pull an extensive amount of slack out from your yarn ball as this will keep the tension of your yarn loose won’t easily pull out from the monks cloth
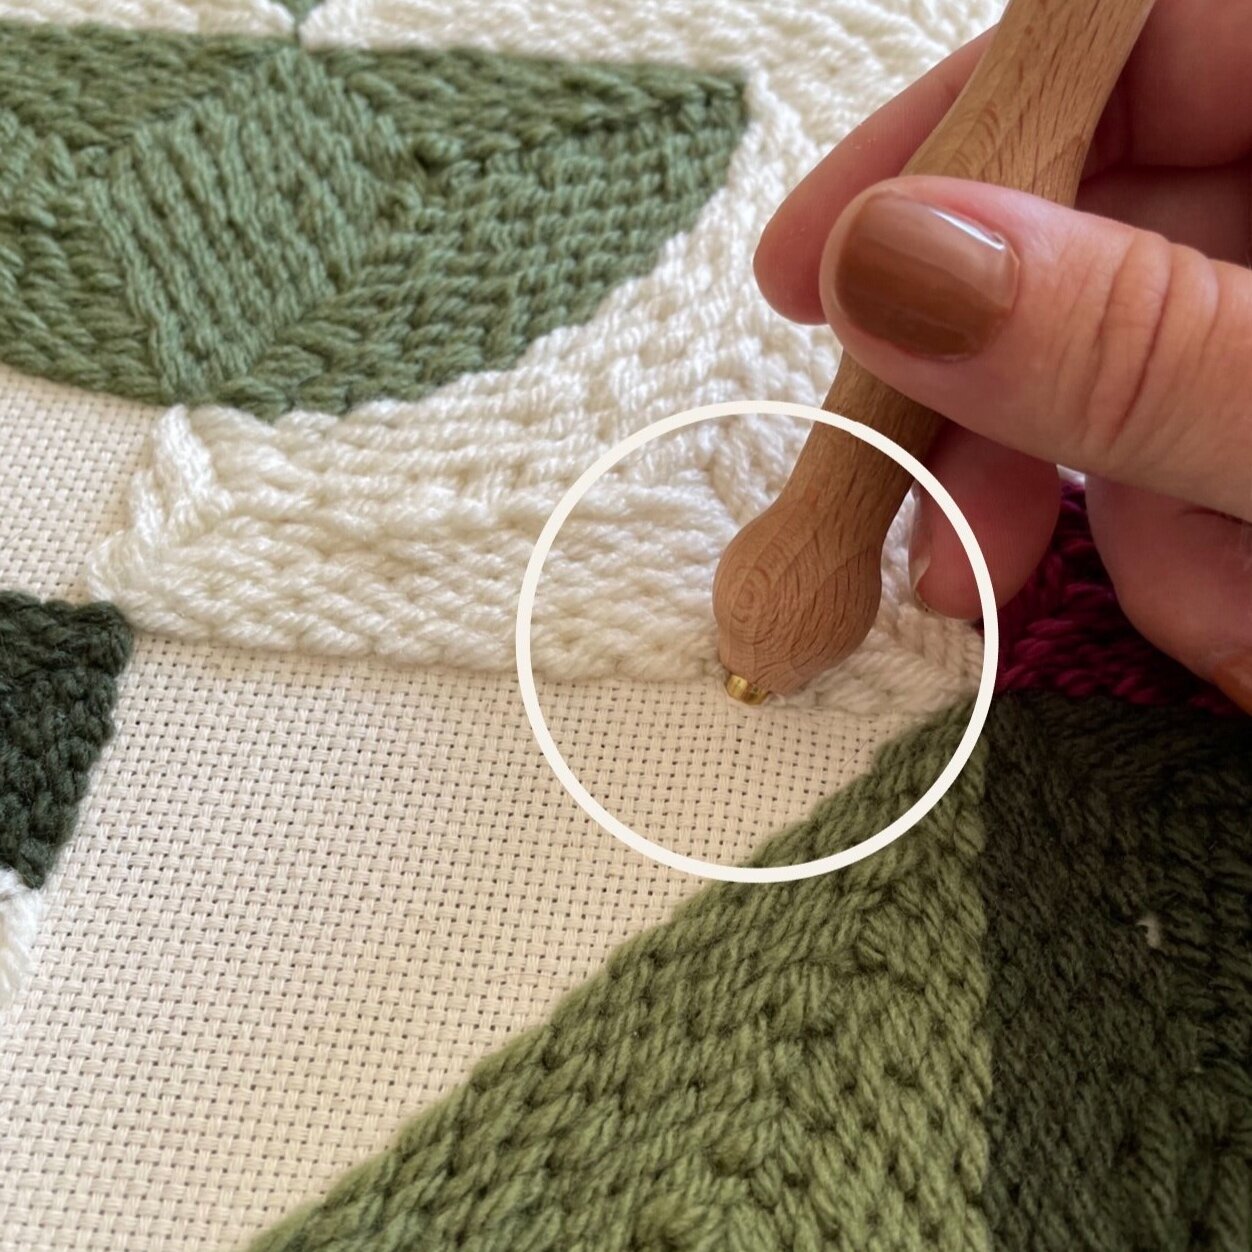
Push your punch needle all the way down into the monks cloth. When coming back up, keep the tip of your needle touching the monks cloth

Evenly space your punches as you progress

Try starting from the outside, and spiraling inwards towards the center
Play around with different heights of your loops by using a punch needle with different lengths, and/or by punching from the front vs the back of your monks cloth

As you begin another row, try staggering your punches.
All these directions might seem overwhelming, but I promise, it’s a lot simpler once you just dive in and give it a go. It can take a bit of troubleshooting in the beginning, but you’ll easily get the hang of it. Then it becomes as relaxing and time consuming as knitting or crocheting. Also, like I mentioned before, I would start with a smaller design to begin and not a 36x16” design. With the limited free time I had to sit down and actually work on this thing, it’s taken me weeks to get done. If I had worked non-stop on it from start to finish, I probably put in something like 70-ish hours. It’s final home is now on the wall in Baby Norman’s room and the overall look is very stylish. I’m very pleased with the outcome.