
DIY Naturally-Dyed Easter Eggs

Back in 2016, I started saving ideas for DIYs to write about on a blog, which would finally make its debut two years later. This was one of those DIYs—four years of resting on a Pinterest board shelf, just waiting to be added to the queue. But of course, this DIY is all over Pinterest! Does the DIY blogging world really need another post about how to naturally dye Easter eggs? Well, I clicked on some of these posts, and many of them are…vague.
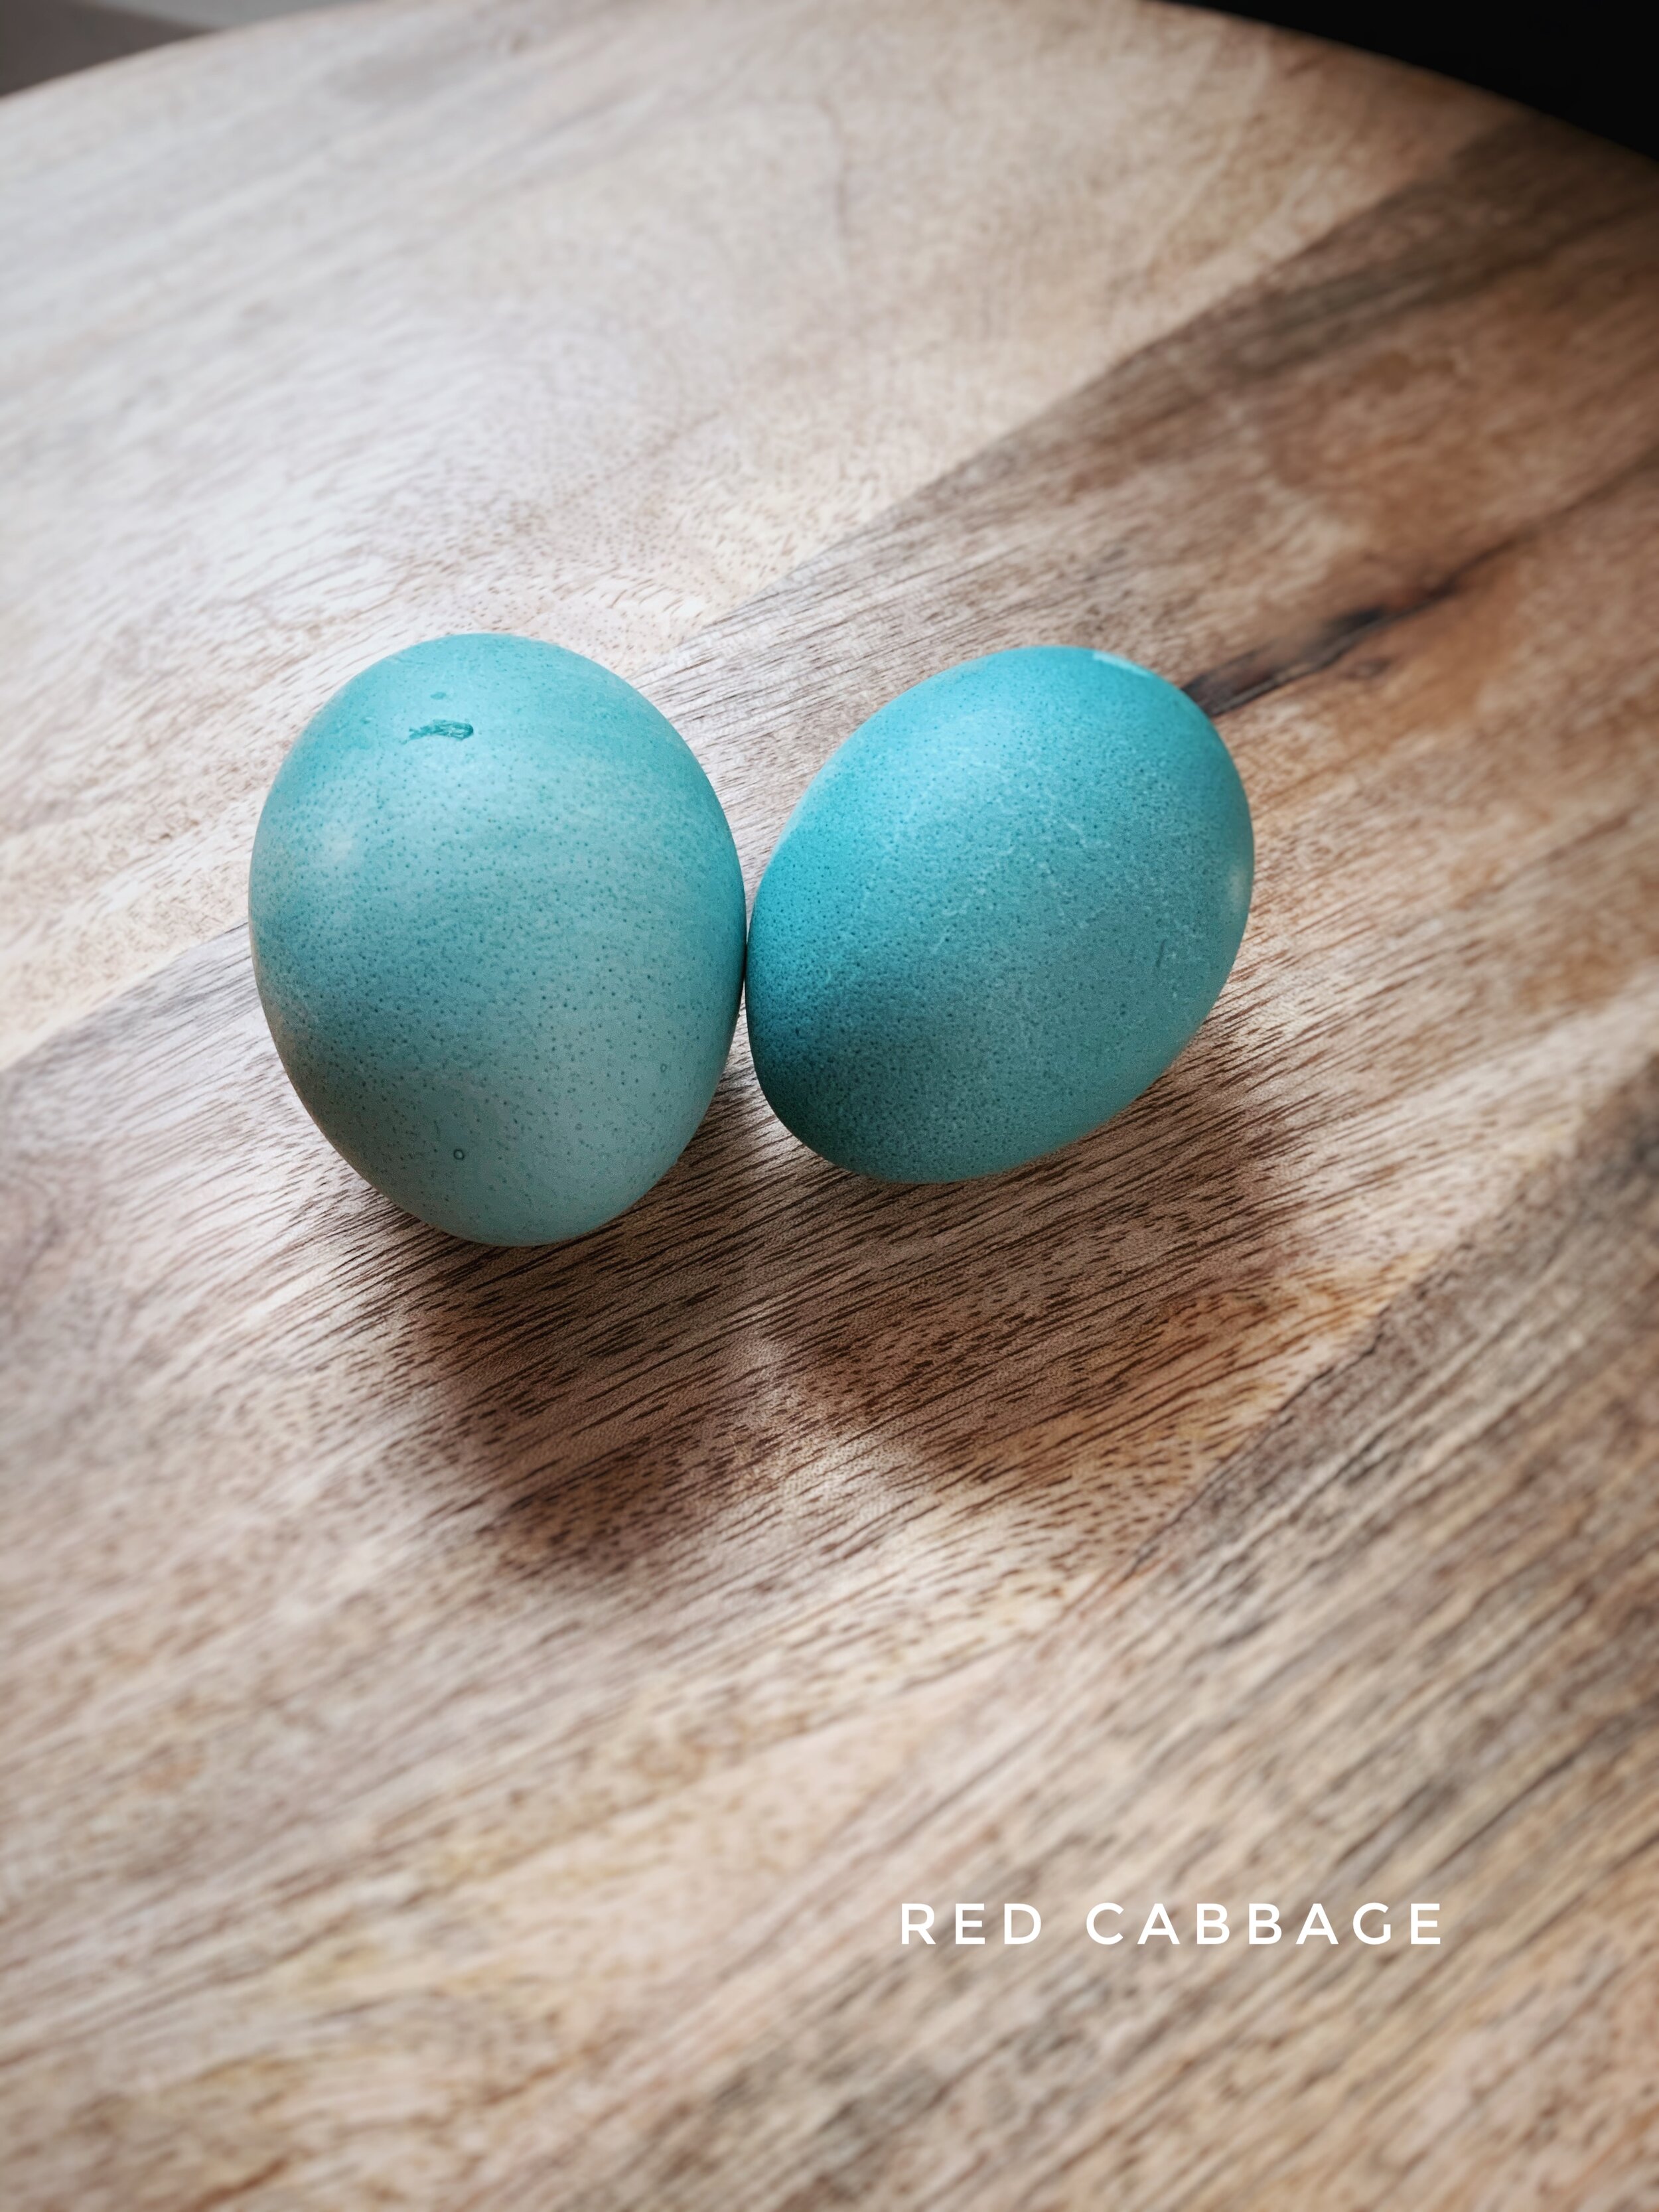
This lack of information only made things even more exciting to try this DIY because it then became a science experiment. If I take this red cabbage and add vinegar, or don’t add vinegar, what color will it actually turn out to be? What about if I leave it soaking in the dye bath for 3 hours, 8 hours, overnight—what then? It was all a complete mystery to me, which means I got to do something I hardly EVER do. I got to wing it, and just simply wait to see what surprise color would emerge from the dye baths.
I actually learned quite a bit. And next Easter, when I do this DIY again, I can further develop this post and add even more ingredients, colors, and general information to this post. You can make as many eggs in as many colors as you like. I actually encourage you to see this DIY the same way I did: as an experiment—play round with adding vinegar to your dye baths or not, to let them soak for 8 hours or 24 hours, and to try different ingredients than the ones I have below. The mystery is what makes this DIY one for the books, or more so, the blog. Have some fun with it friends.

Here’s What You Need:
Hard Boiled Eggs
Foods & Spices for Dye Baths (Each bath will yield two eggs to dye at a time)
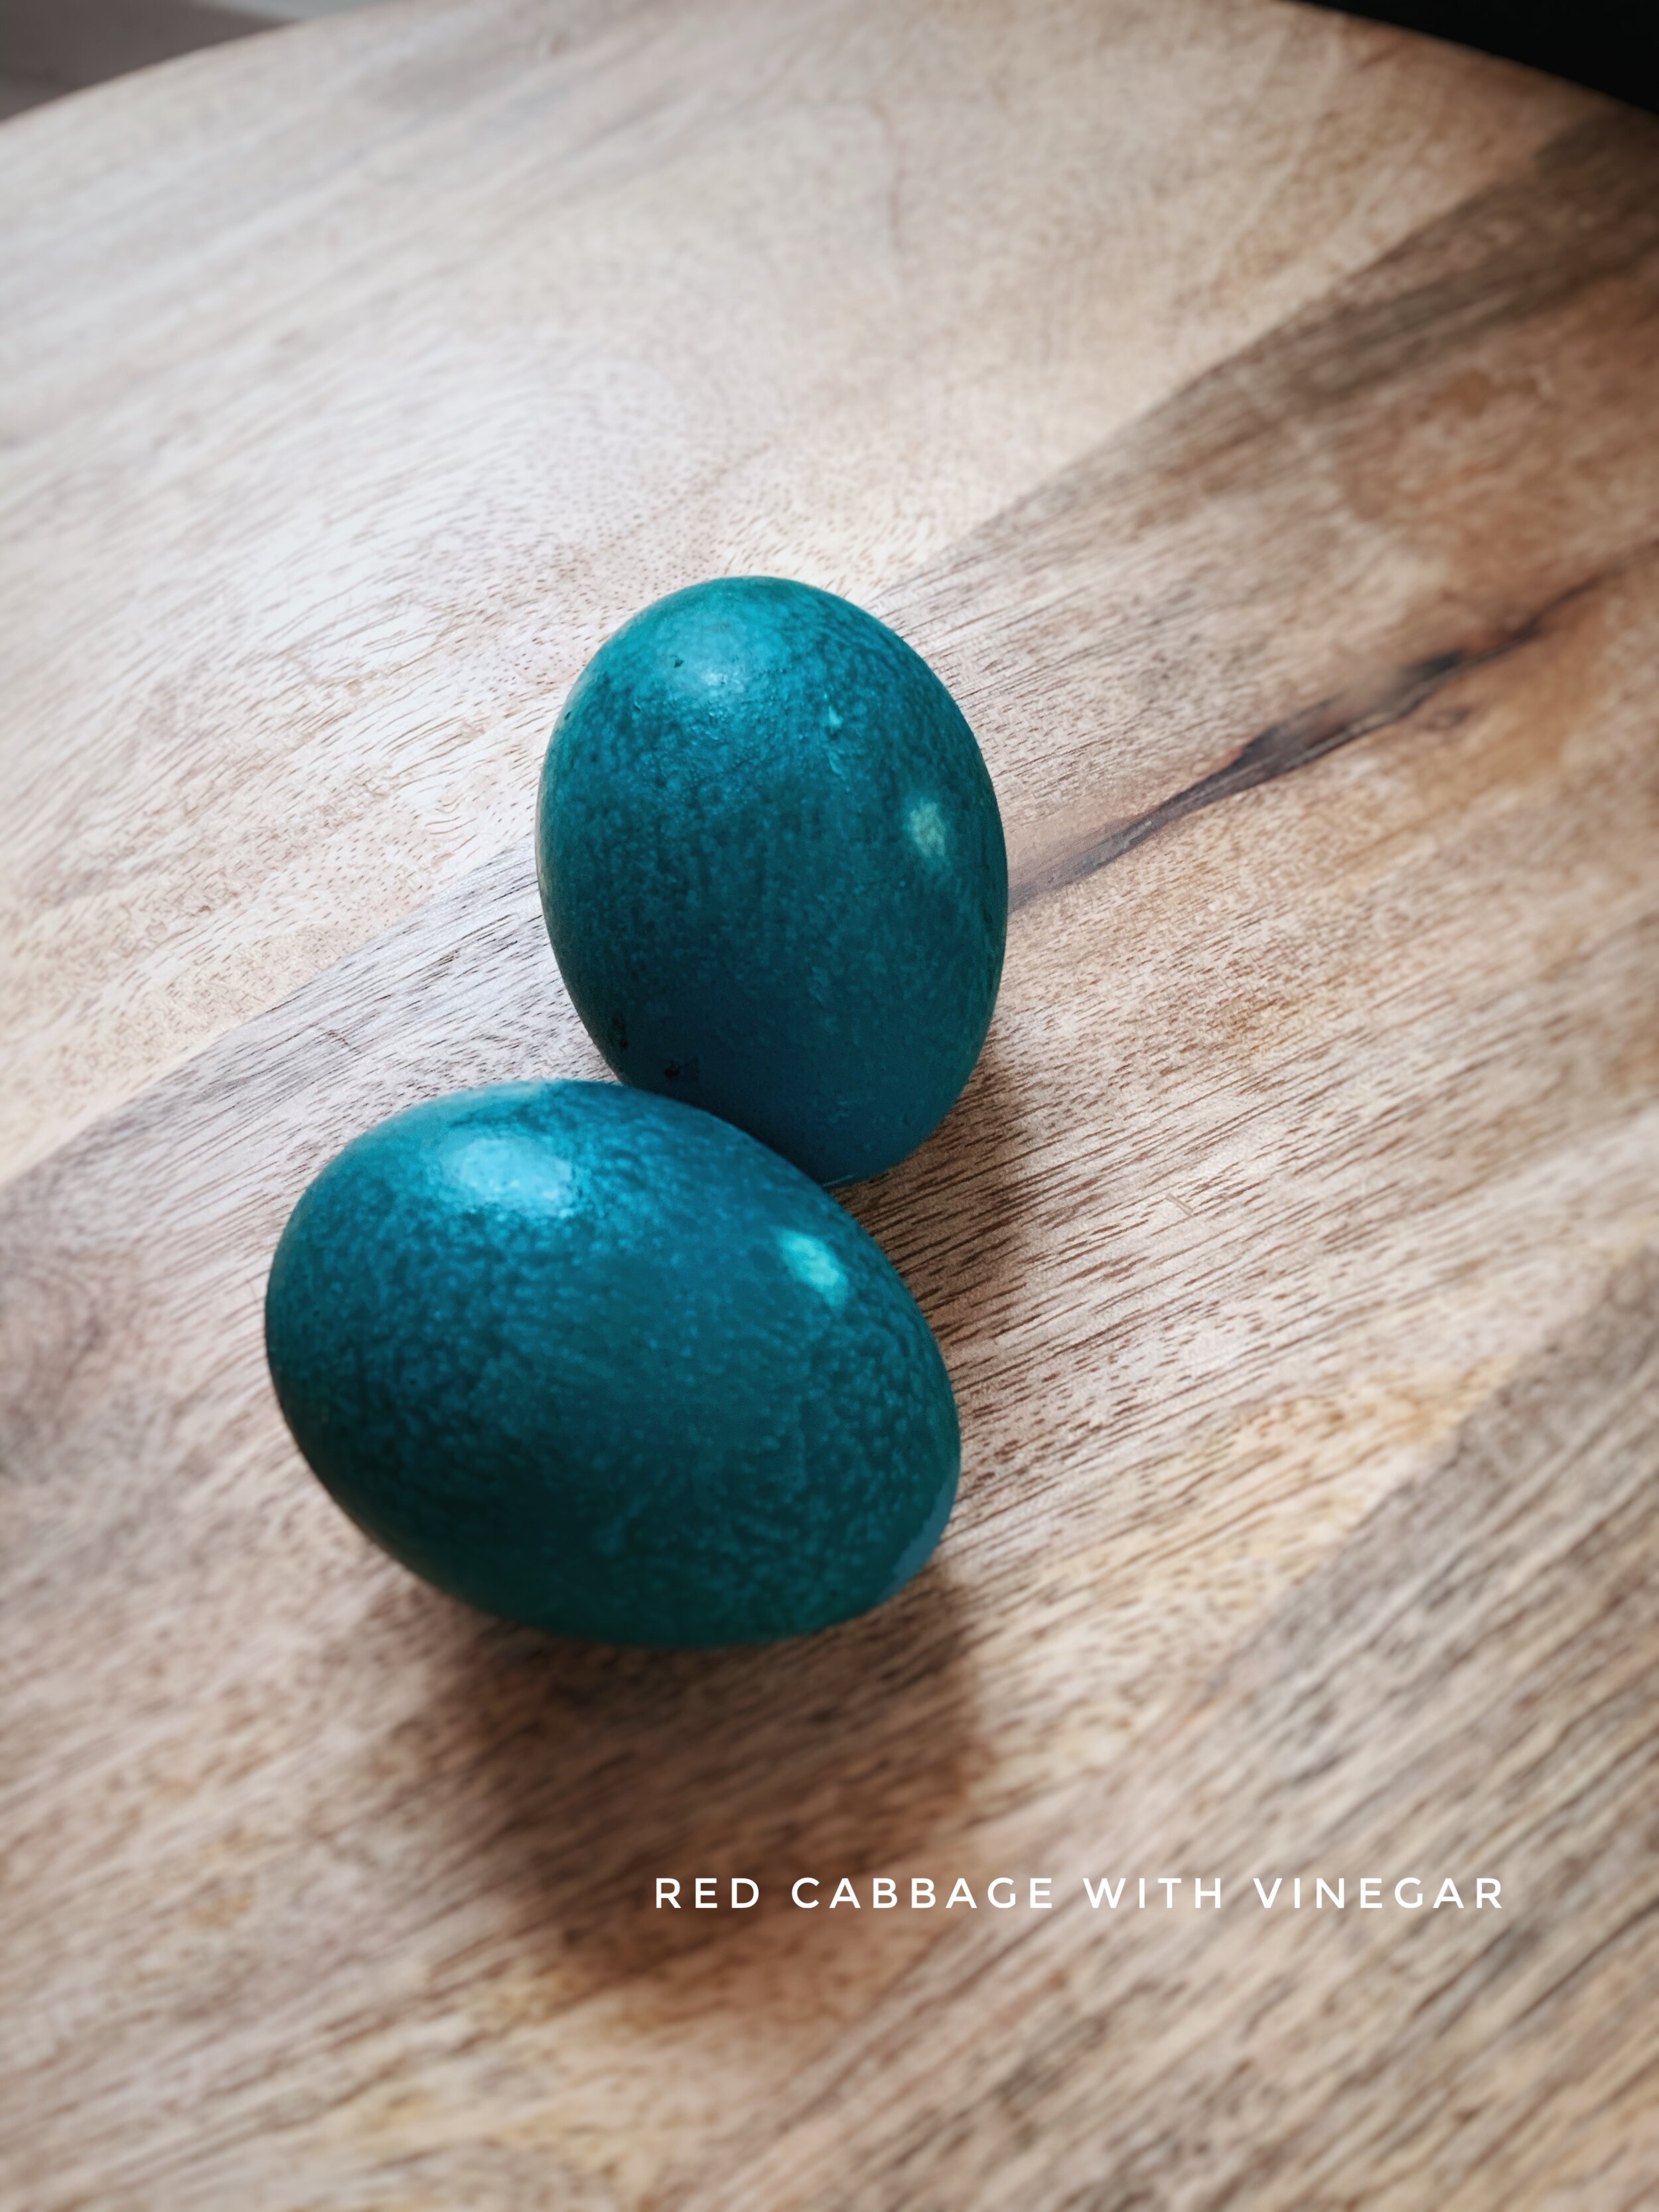
1 cup of fresh red cabbage
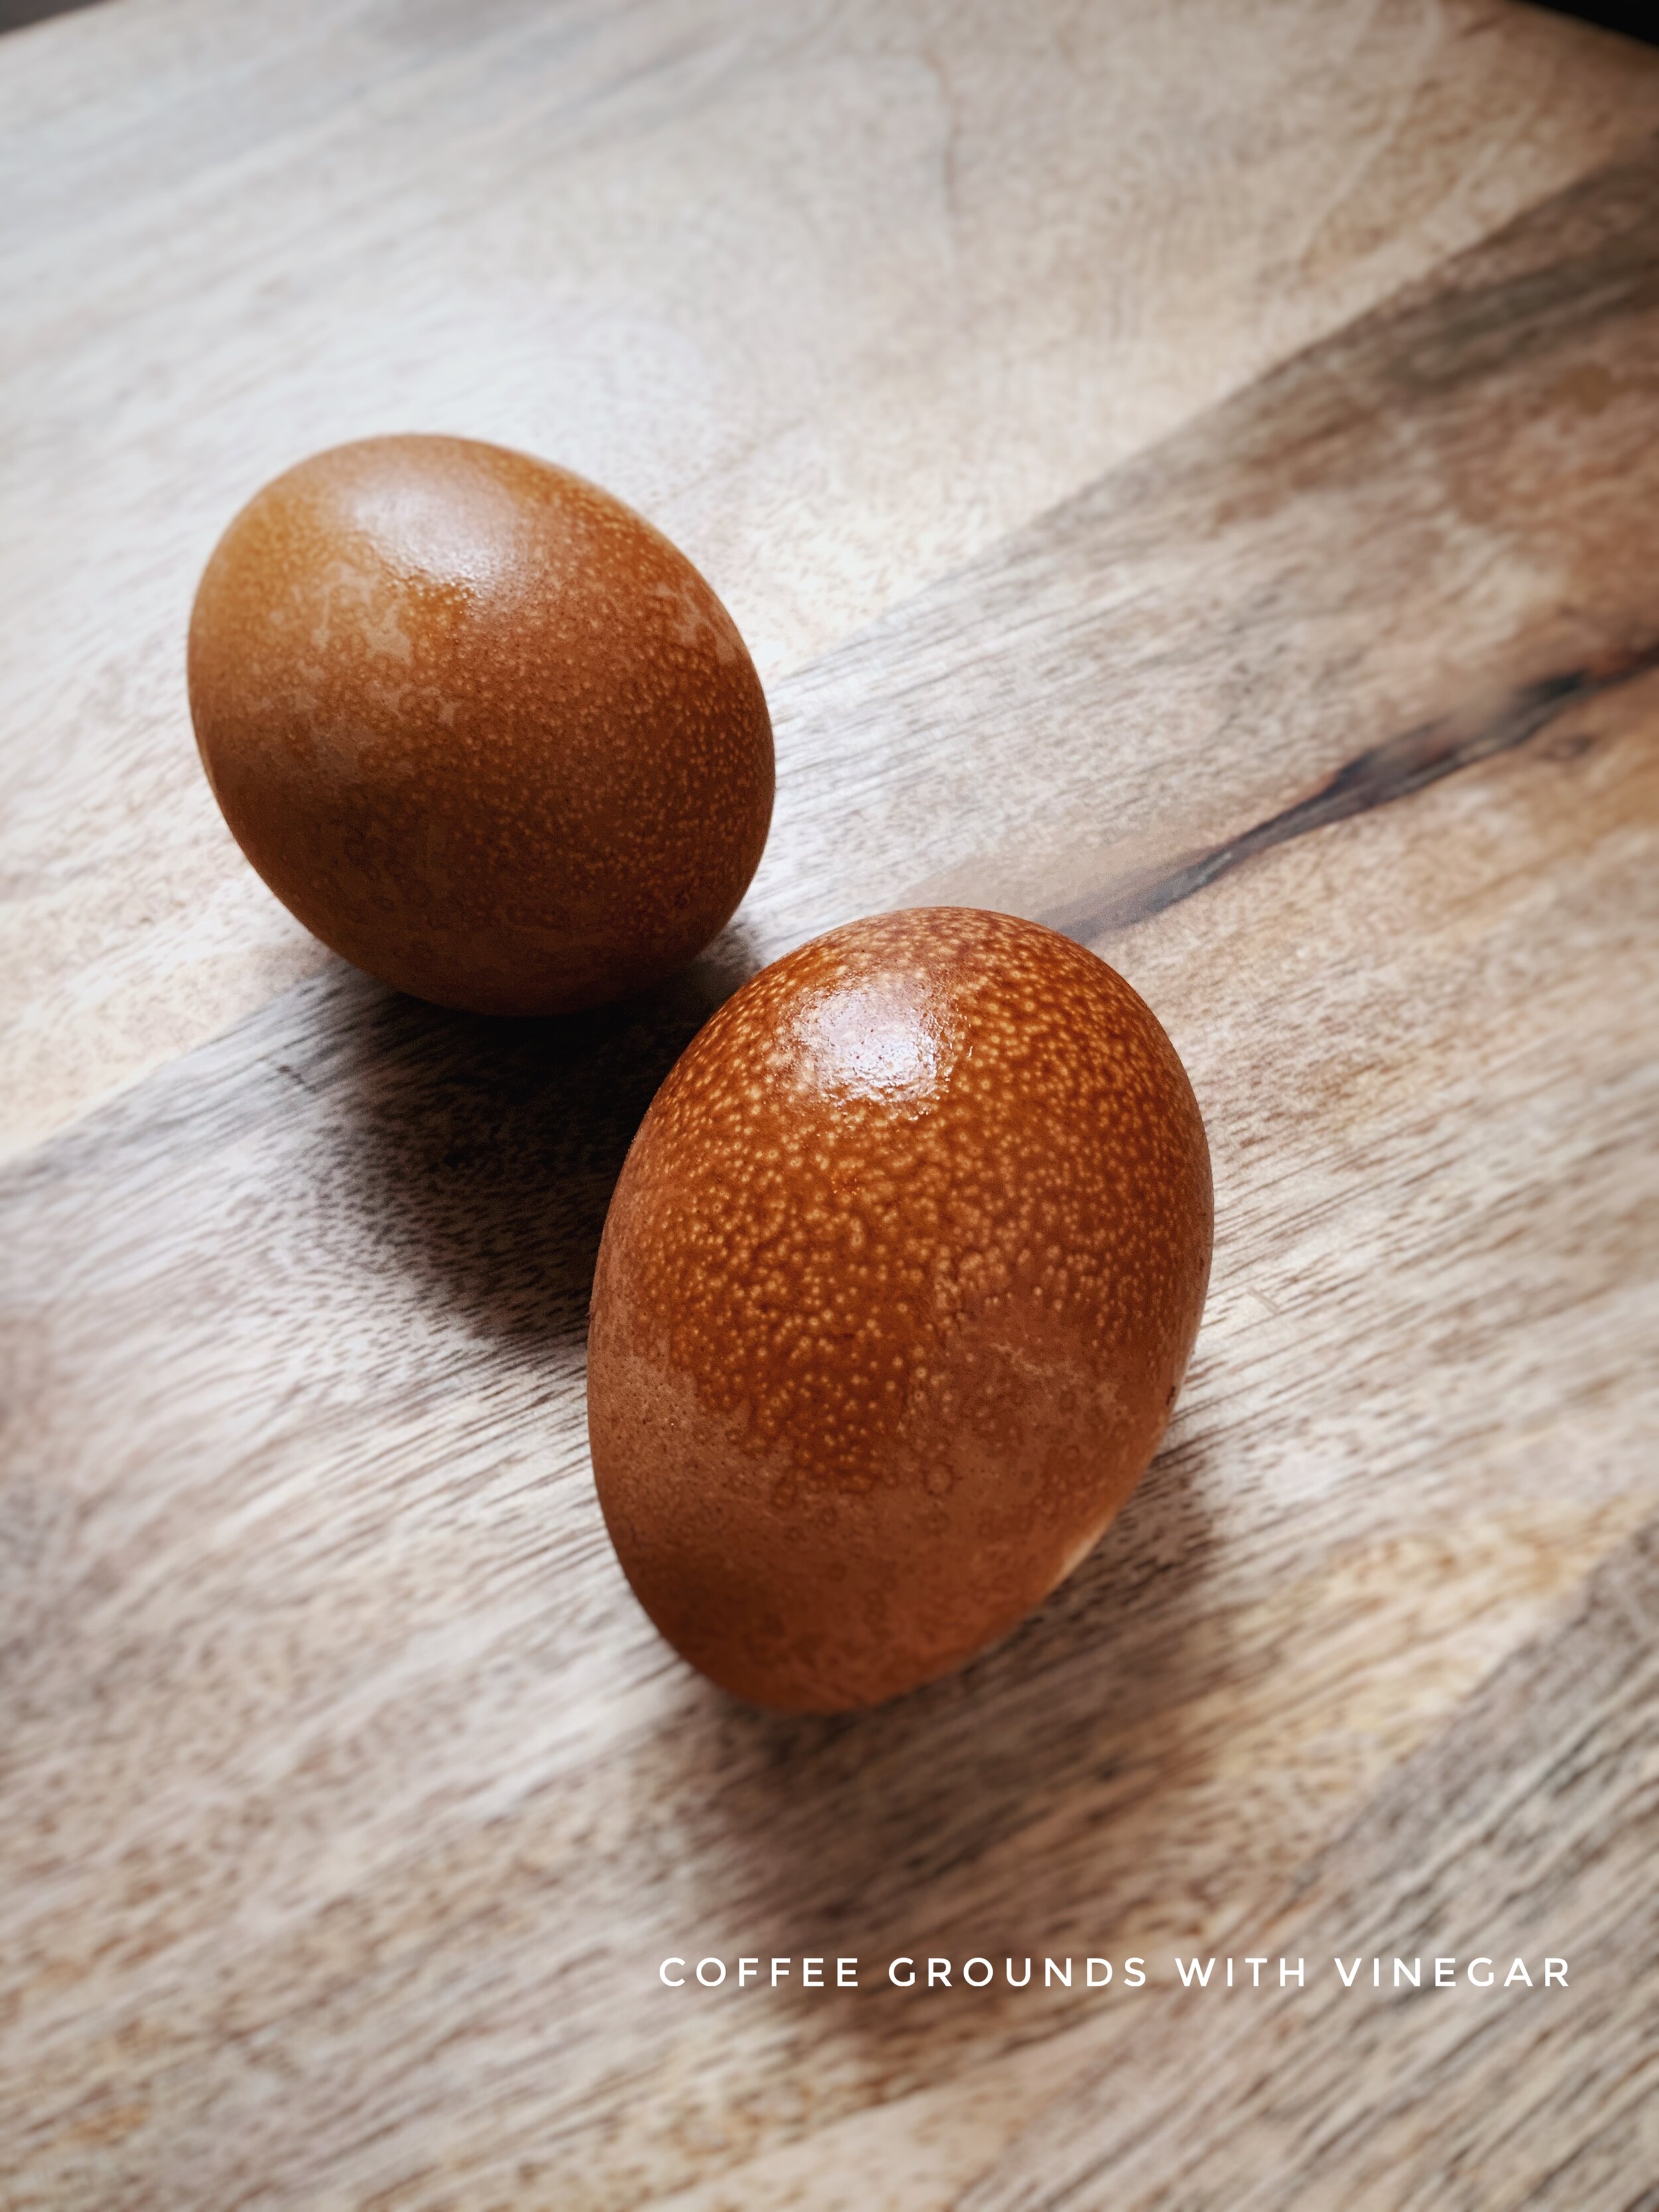
30g of coffee grounds
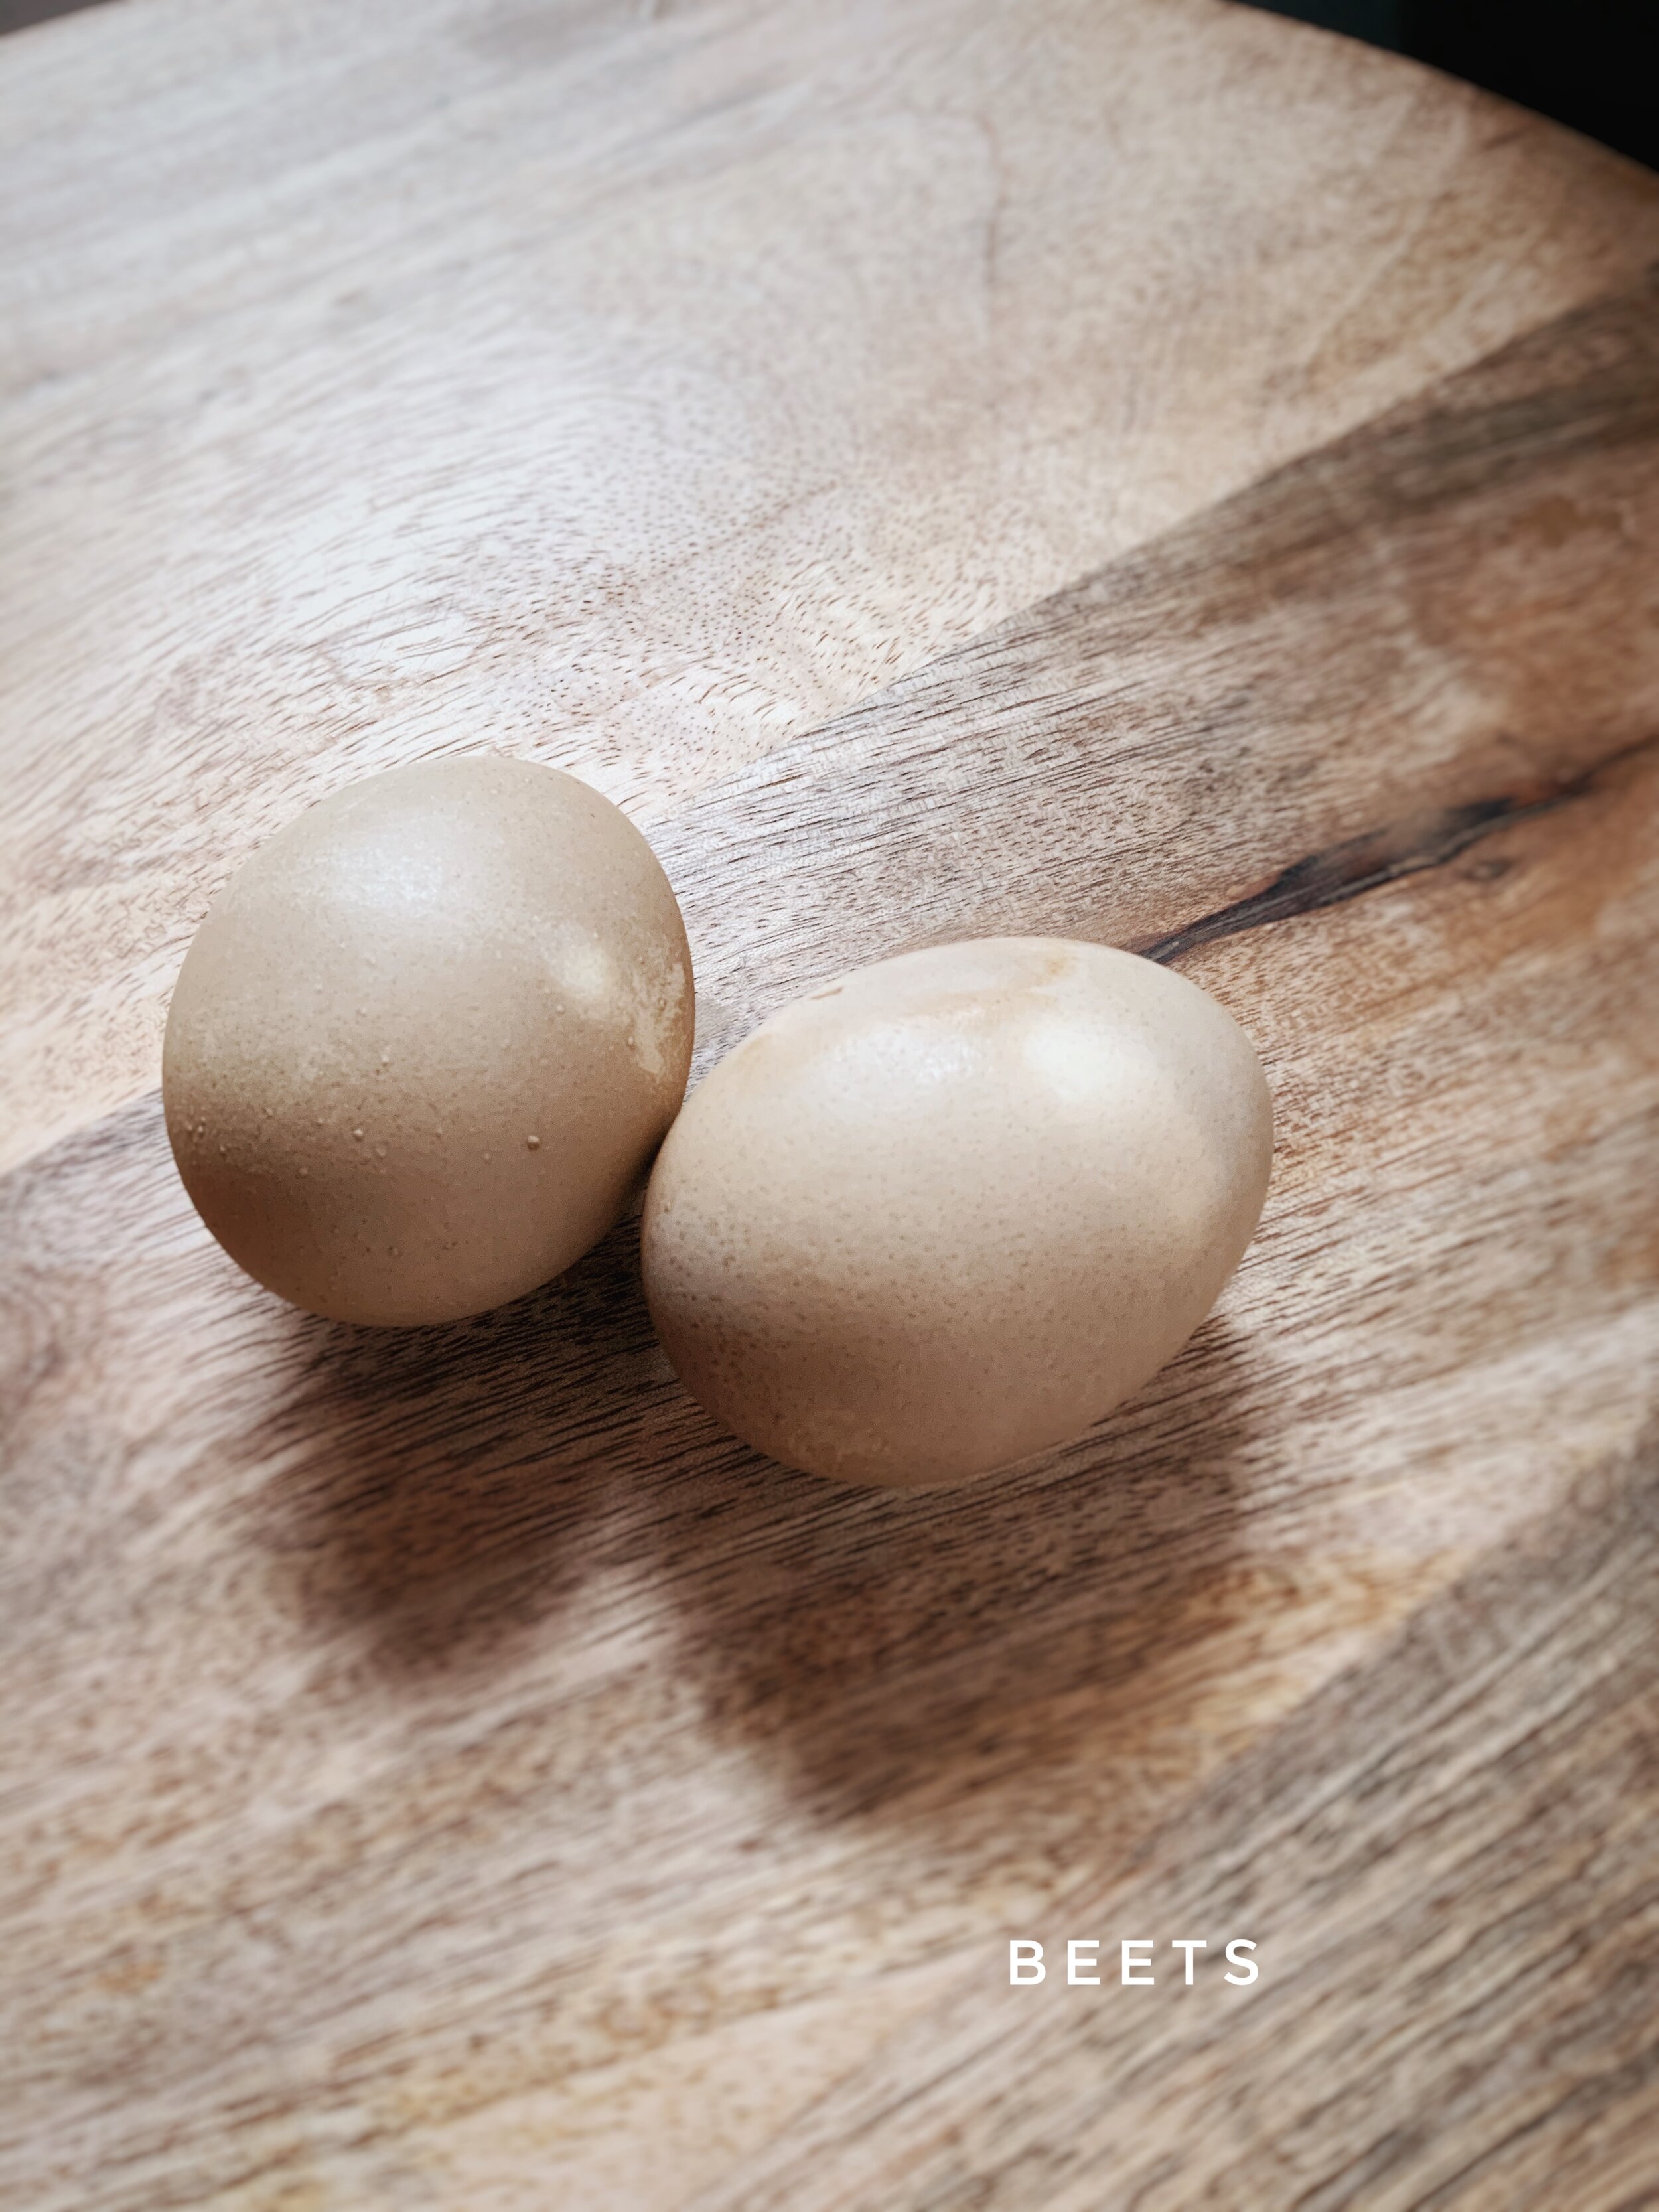
3 small fresh beets
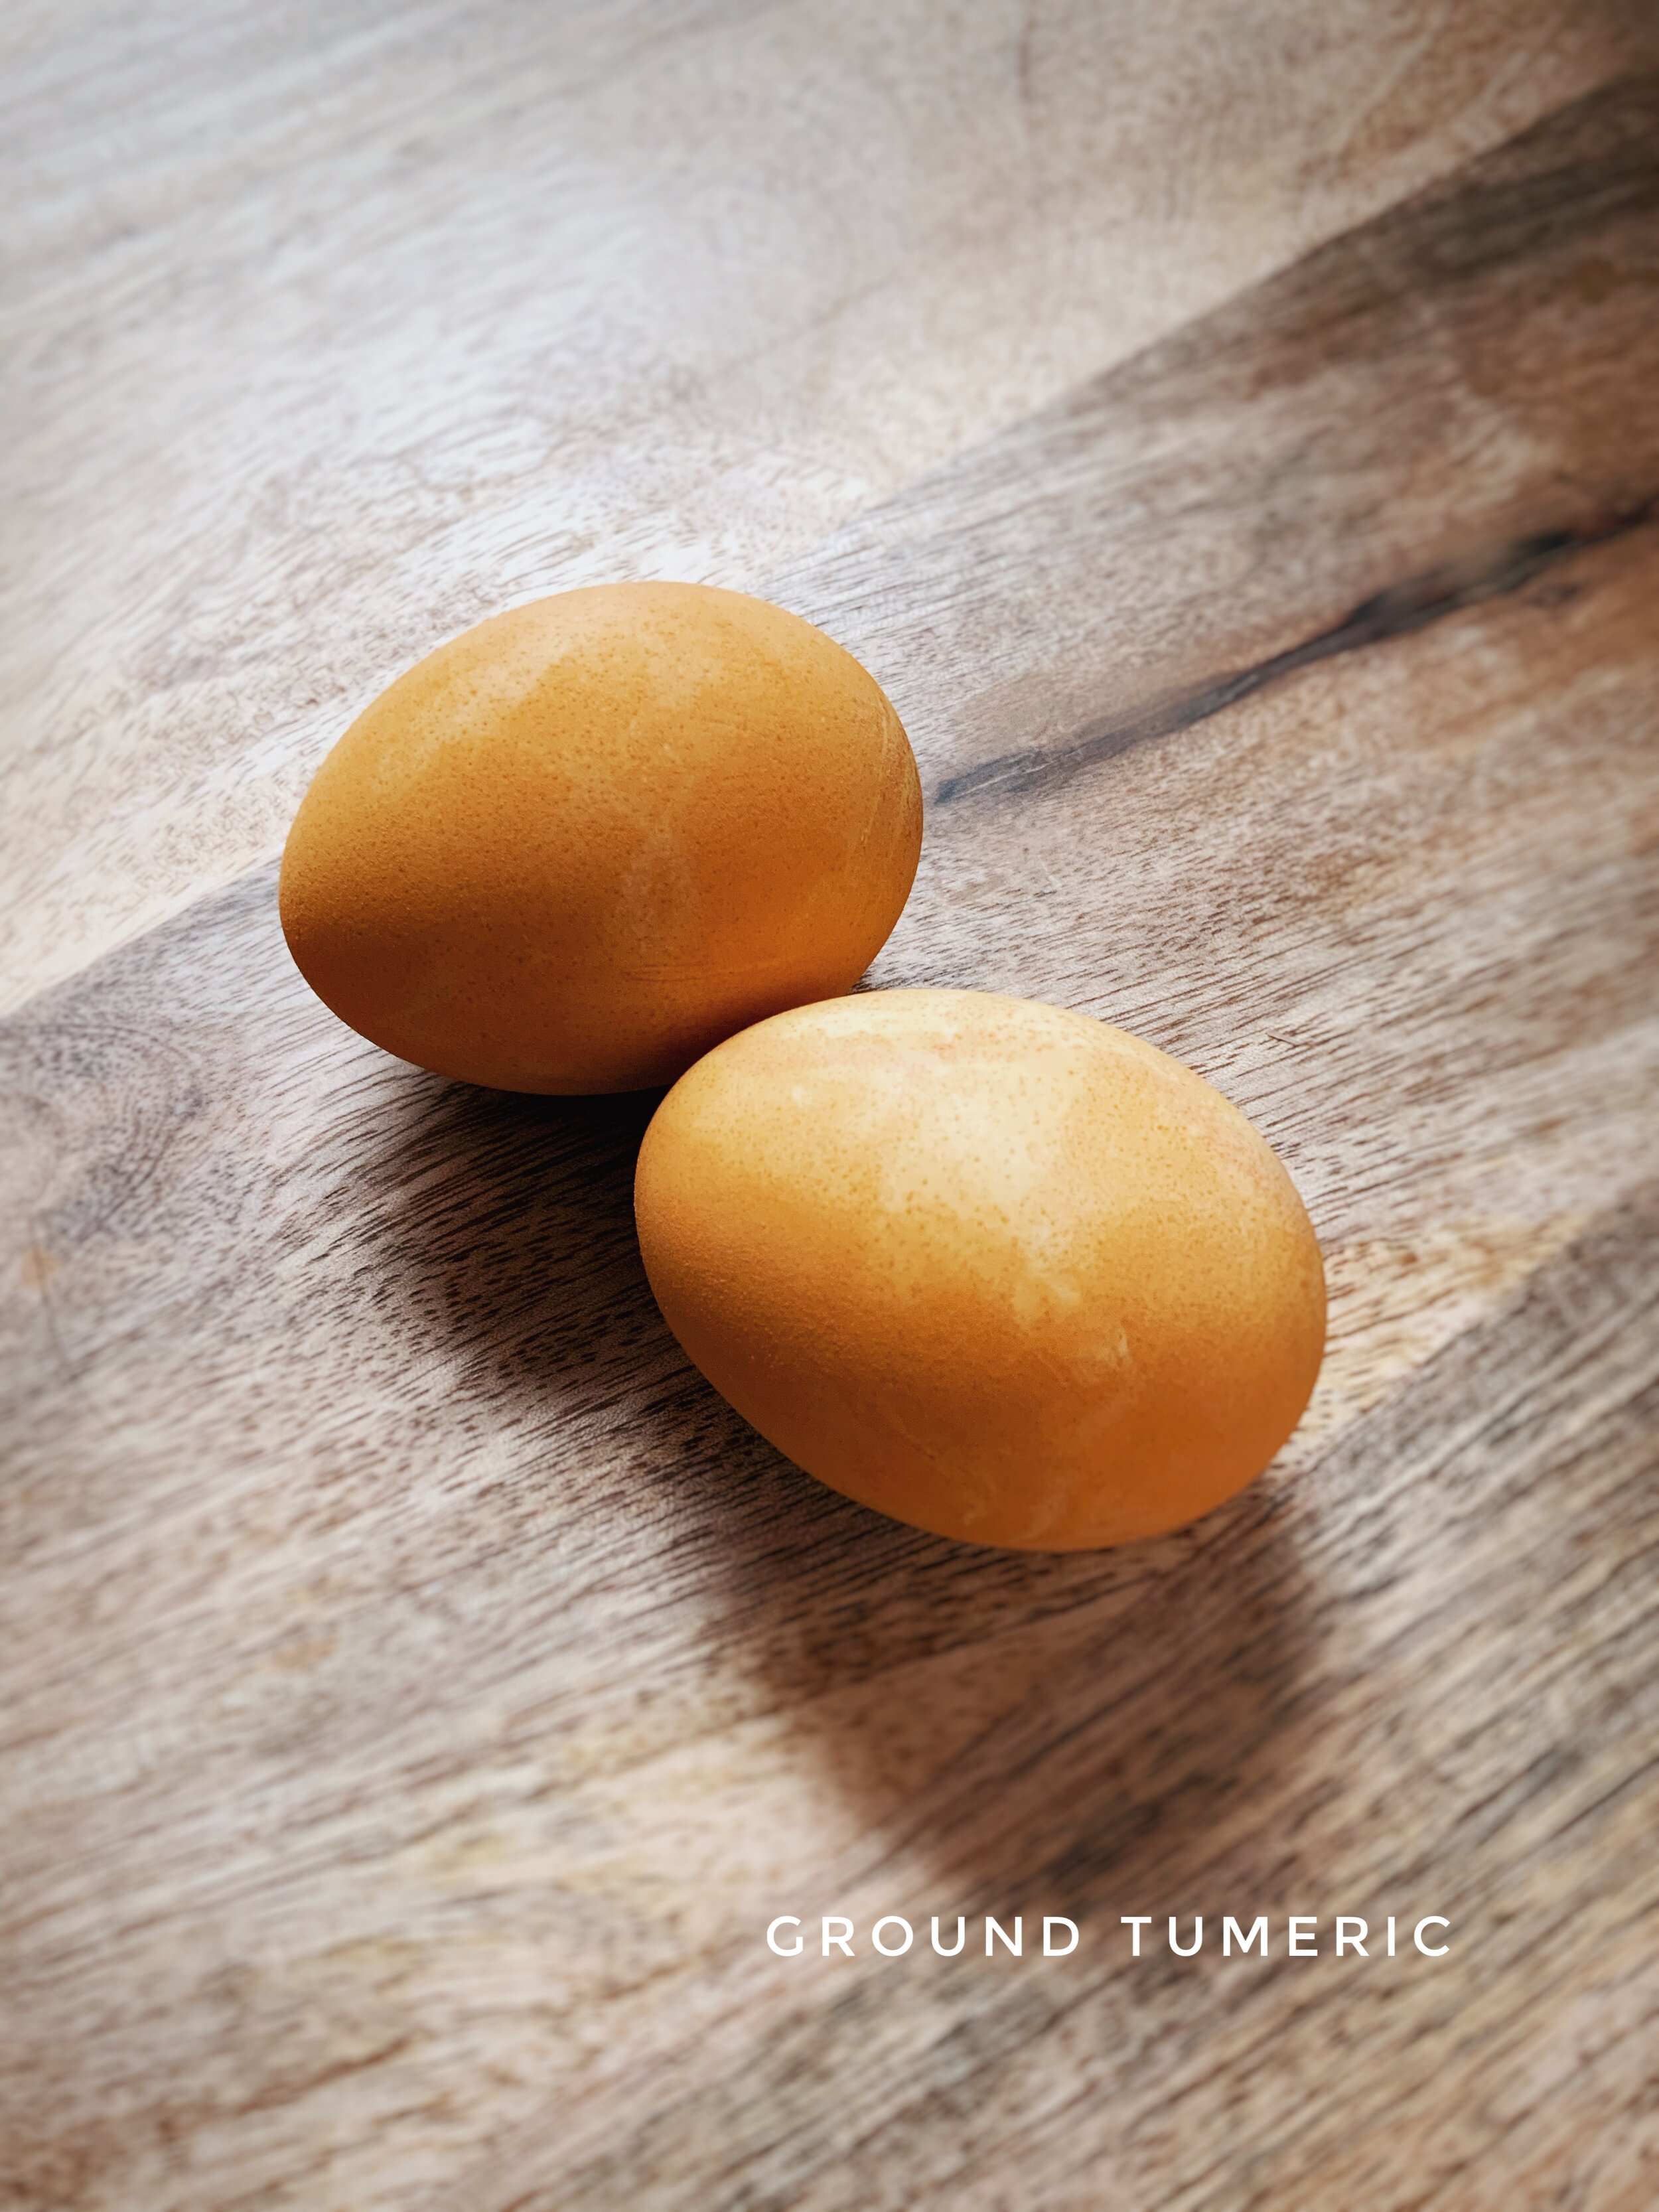
1 tbsp of ground turmeric
2 cups of water per dye bath
(Optional): 1-2 tbsp of distilled white vinegar per dye bath
Small Sauce Pan
Slotted Spoon
Small Mesh Strainer
Small bowls, containers, or jars for each dye bath (Mason Jars work great)

Here’s What you DO:
Hard boil as many eggs as you’d like to dye. I recommend boiling a few more eggs than you have planned to dye because sometimes the shells are thin and the egg will open up slightly while boiling. If you don’t know how to boil eggs, I got you! Here’s quick rundown on how I like to boil them so they are the perfect consistency.
Begin preparing your dye baths by adding one food or spice to saucepan along with 2 cups of water, and bring to a boil.
Cover saucepan and simmer for 10 minutes
Pour bath over the mesh strainer and into a jar. You want to make sure the liquid is high enough in the container to allow an egg or two to be full submerged.
(Optional) Add 1-2 tbsp of distilled white vinegar to the bath. I found that vinegar really saturates the color. If you’d like more muted tones on your eggs, I would pass on this step.
Add your eggs to the bath. I put mine in the bath while it was still hot, but immediately put the jars in the fridge.
Allow your eggs to soak for a long period of time. I let mine soak for 24 hours just so I would really get the deepest colors I could from each bath.
Check on your eggs, and if the color looks good, you can pull them out of the bath and let them dry either in an egg carton, or on a cooling rack
The End Results
Next year, I might try to strain my eggs before dying them rather than hard-boiling them, just so I can decorate the house with them and won’t have to confine their beauty to the inside of my fridge. Again, there is room to add to this post, and I am very eager to keep this tradition going next Easter. I hope that you and your family have a wonderful Easter and that this DIY is a fun activity to add to the celebration.
