
One Day, One Room Challenge

I’m fairly certain I’m not the first person to tackle a whole room flip in one day, but considering I’m currently six months pregnant, the challenge” part of this project really sunk its way in. BUT somehow, we did it! We took a spare room in our house that has served many different purposes over the years (an art studio, a storage/kitchen space during our renovation, a music studio), and turned it into its new identity as a guest bedroom. Considering we will be having a lot more family and friends visit us after our baby is born, we really wanted a proper space with intentional design for our guests.
This room was originally going to be completely renovated along with our guest bathroom and nursery, as this whole side of the house still has knob and tube in the wall. However, the demo of our nursery took a bit longer than we expected given our busy schedules. Therefore, the guest bedroom and bathroom were sadly given the boot. And it was this sadness that did not sit very well with me that then led to the question I asked to my husband, no joke, one week ago, “How do you feel about painting the guest bedroom?” To which he answered with an immediate, “YES,” before I could even get out the word bedroom.
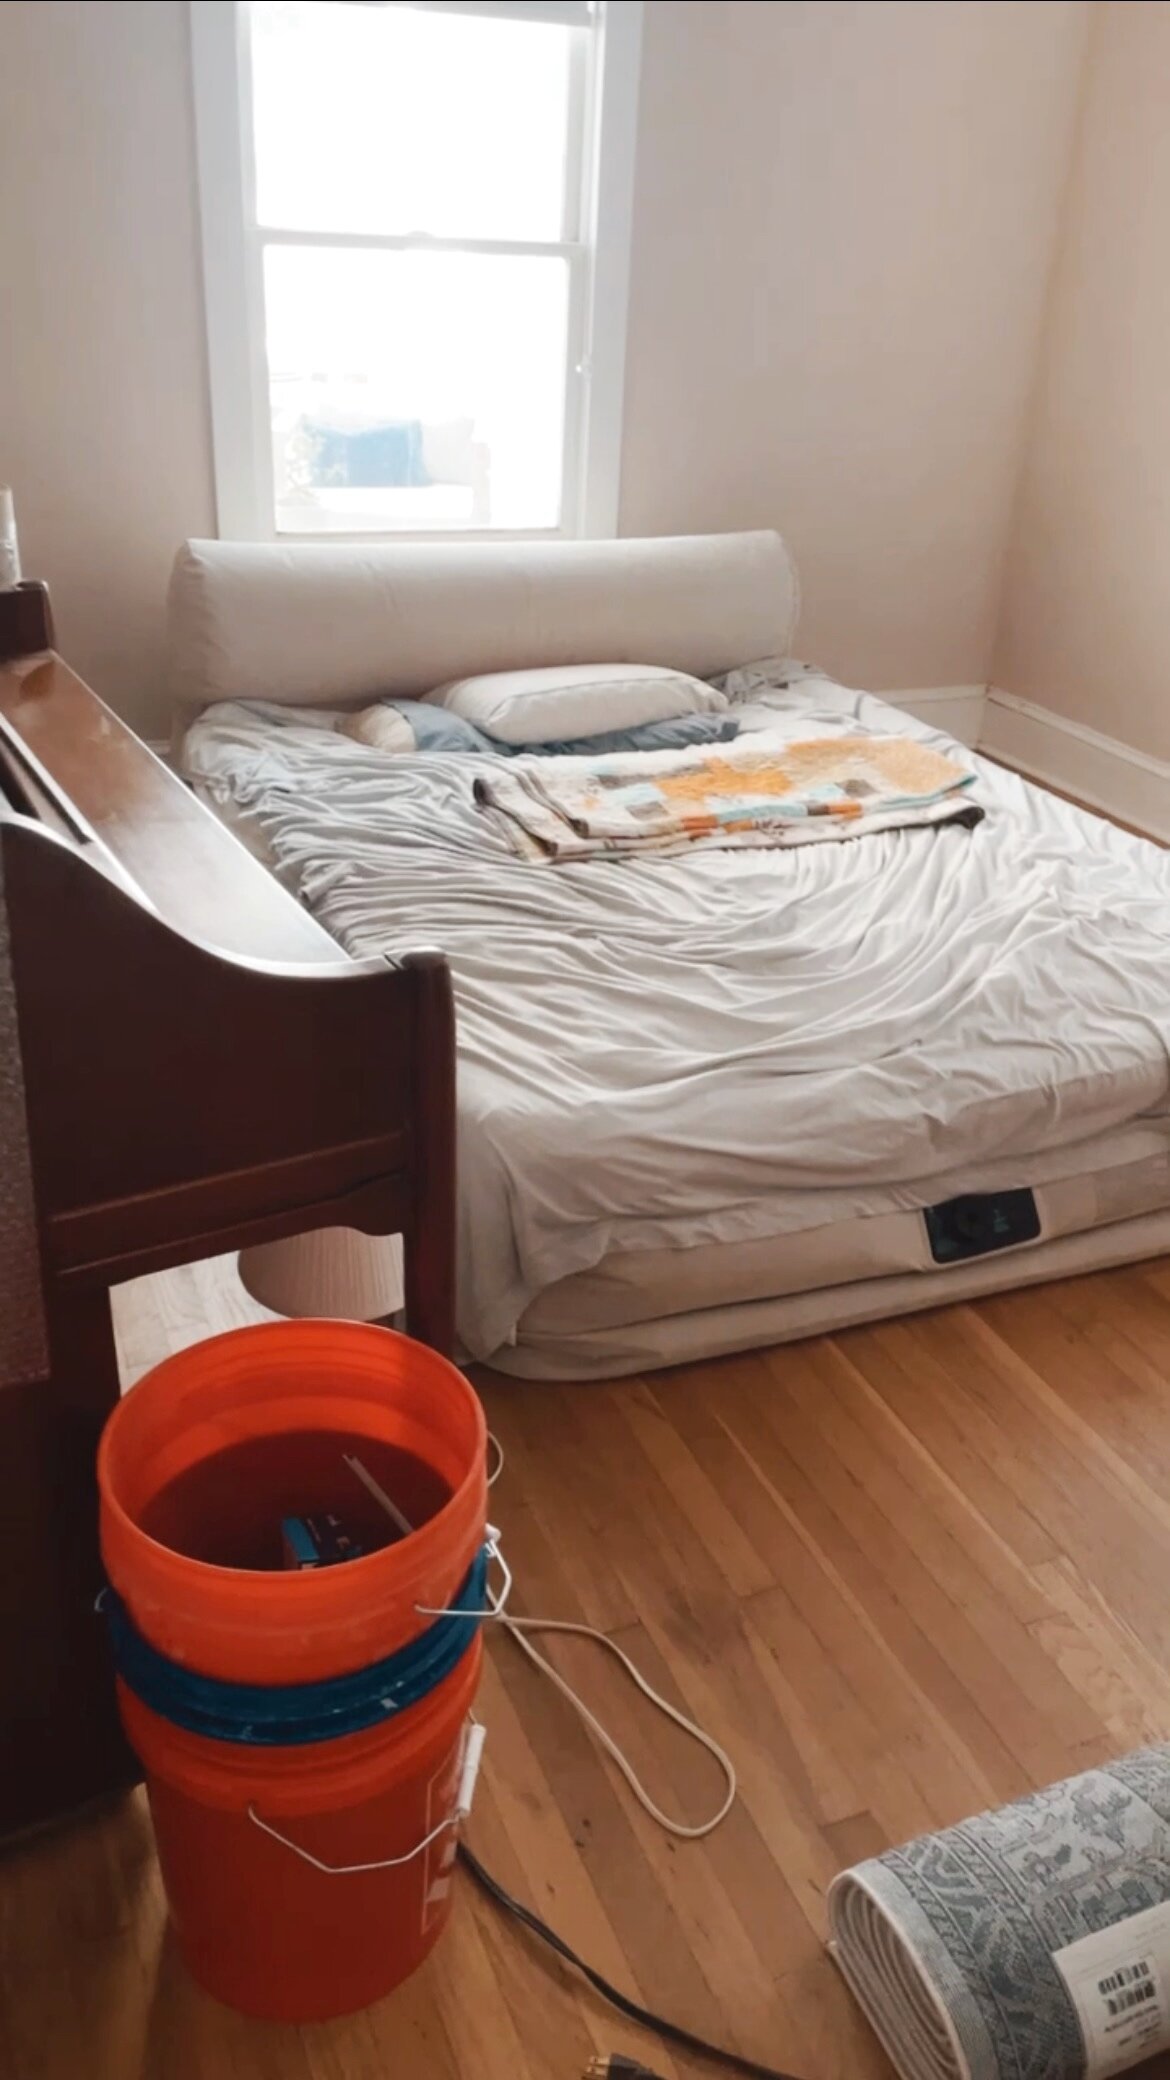
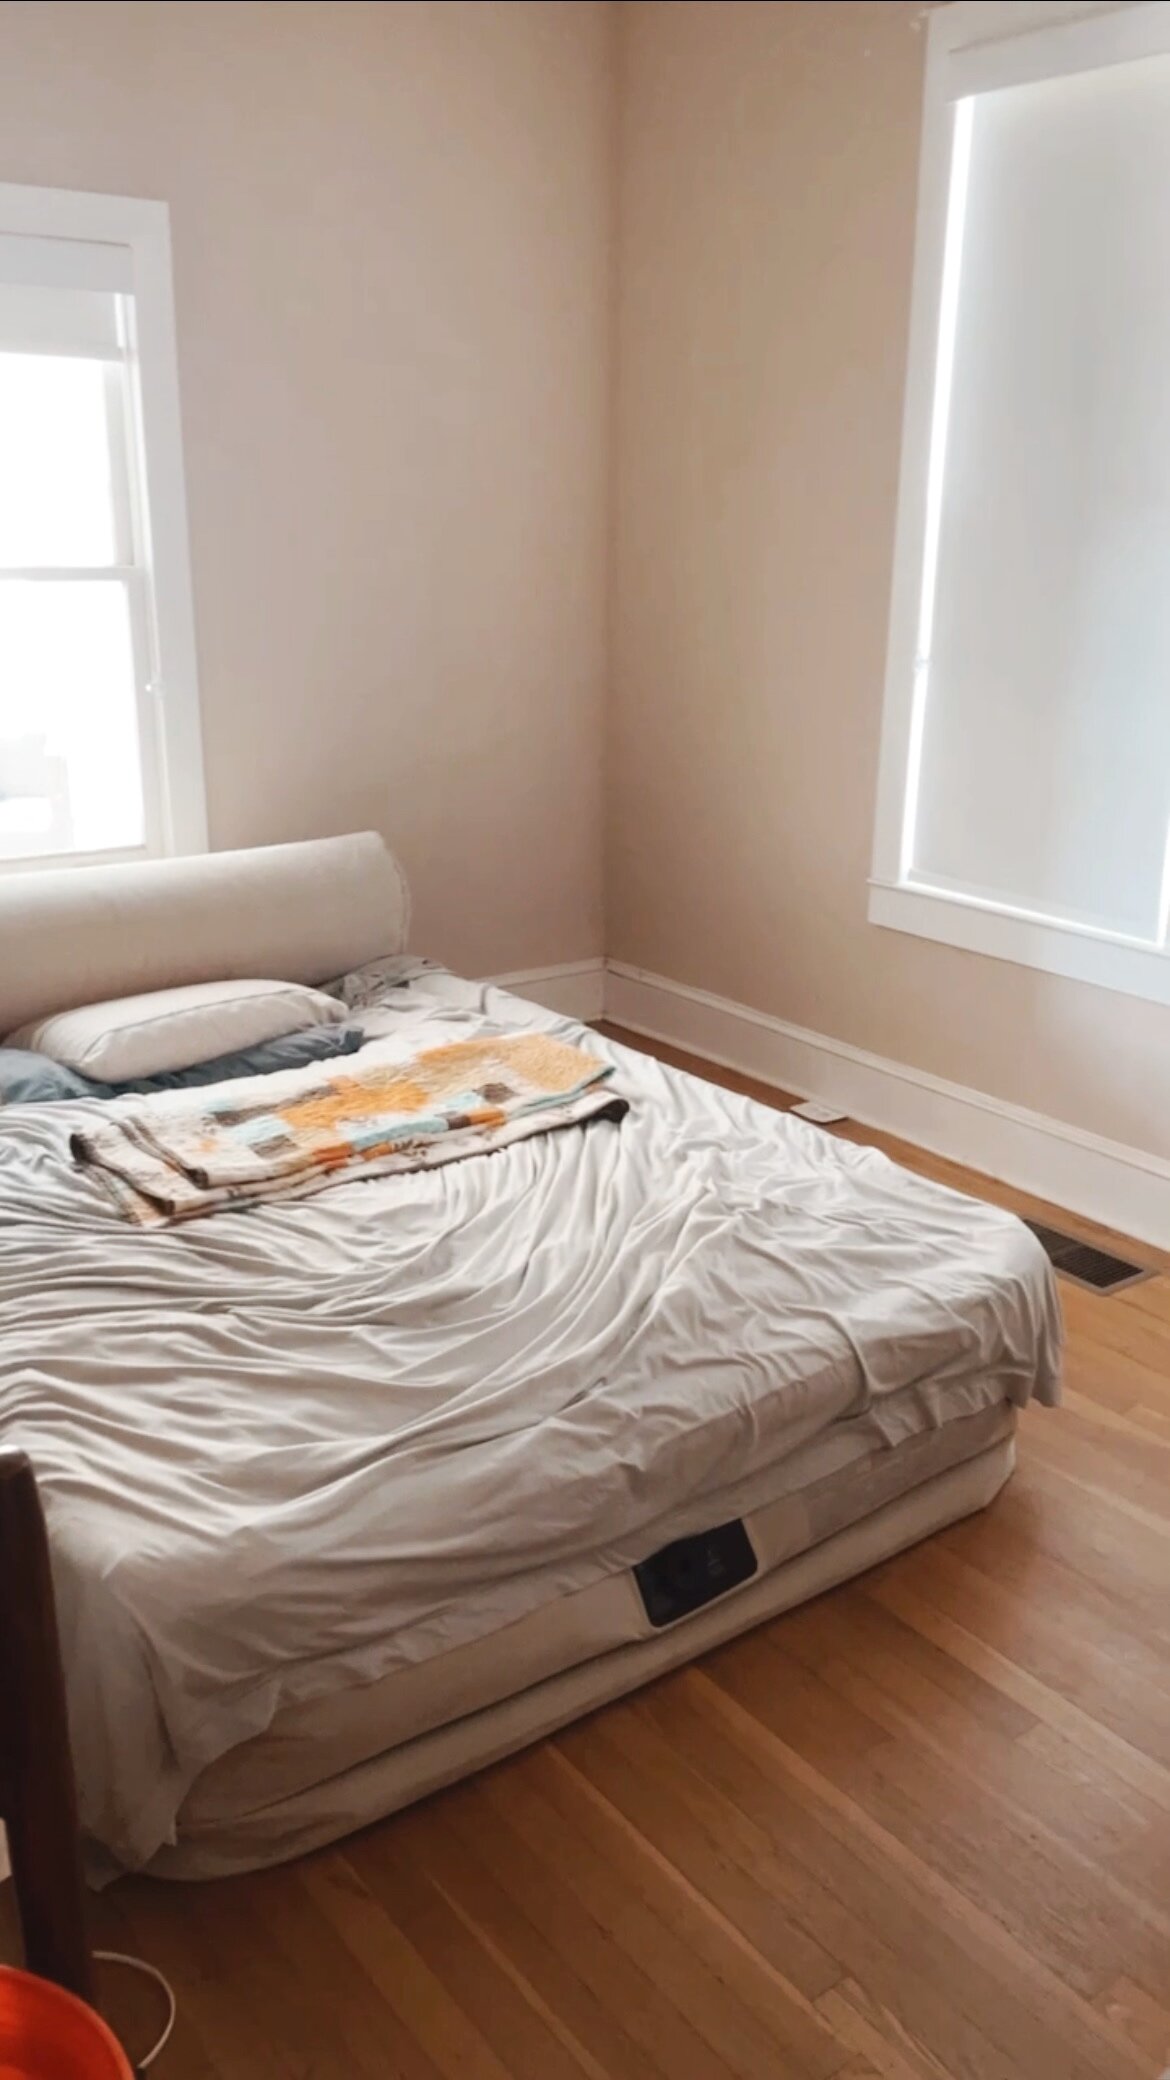
Before
My design brain began turning as I tried to figure out how to pull off this possibly brilliant, possibly catastrophic project without a hitch. So here is what I landed on; the rules, if you will, to stick to in order to execute a room flip in one day.
Paint
I cannot properly put into words the pure magic of paint. It is easily the most cost efficient way of completely changing the look/vibe of a room in an instant. And this room proves no differently. We have a very textured ceiling, crown molding, and a lot of trim that could have used some paint as well, but this is one day we’re talking about. Therefore, we opted for just wall paint.
Clean
Sometimes all a space needs is a solid scrub. This was honestly the second biggest change we saw in our space after painting. We washed the inside and outsides of our windows, gave our baseboards and doors some overdue love, and finished with an adequate mopping of our hardwoods. By this point, the place was already sparkling.
Find a friend to help you
Thankfully, my husband, who doesn’t have a lot of patience for things, was very eager and excited to tackle this project with me. One day to go from blah to ah (angel chore style) is his kind of project. And double points for the fact that we both truly enjoy playing host in our house, and saw this as a fun way to lean into our hospitable hobby.
Use what you have
I’ll be completely honest here. We bought a new rug, light fixture, the curtains/rods, and one decor item. That’s it! The furniture, sheets, pillows, baskets, art, and decor—all of them were pieces that I’ve held onto knowing that they would be used somewhere, someday. Disclaimer: the dresser and the floor lamp are actually going be heading into the nursery once it’s complete. While these are also new items, I don’t have a place to store them at the moment and they just coincidentally fit the aesthetics of the guest bedroom.
Don’t overthink it
Easier said than done, right? I might have had a husband in my ear keeping this phrase on repeat around every decision I had to make. God, I love that man, and like I mentioned, I couldn’t have pulled this off without him. But regardless of humble husbands, if I can do it—the list-maker and planner of everything—then so can you. The trick lies in three things:
Start your design with the tip mentioned above: use what you have. Then, work your design decisions around these items.
If purchasing items, go to the store and limit your options to what is in stock and currently in front of you
And most importantly, listening to your gut. Paint color: this one feels right. Light fixture: this one is cheap, and fits the vibe. Area rug: This one is the right size(ish), and is simple enough to go with the color palette.
After


I’ve linked below the items we did end up purchasing, and the paint color, but like I said, a lot of these things we already had on hand. What’s more fun is that a good chunk of the things in this room where bought on my antique treasure hunts including the wall art, dresser, piano, vase, and candlesticks.
I am in love with this room! It’s different to the white-walled aesthetics we have going throughout the rest of the house, but somehow it still fits. And that is my FAVORITE part! White is nice, don’t get me wrong, but there is just something fun when you dabble in some color. I cannot wait to play host and show this room off to all our guests.
